Thursday, March 1, 2012

Recycled Crayons

There are a lot of uses for those broken, tiny crayons floating around the house. One that we do a lot is the melted crayon 'stained glass' craft (in another post) and yesterday we tried making 'new' crayons.

What you need:

muffin tin
oven
broken crayons
We started out by sorting the crayons by color - good activity for little hands!


Next, we took those crayons and made some even smaller and then put them in a smaller muffin tin. (You know, that one that makes the cutest little muffins?) The boys decided to make some multi-colored crayons as well as combining similar colors. It was actually very fun to experiment and see what happened as they melted!
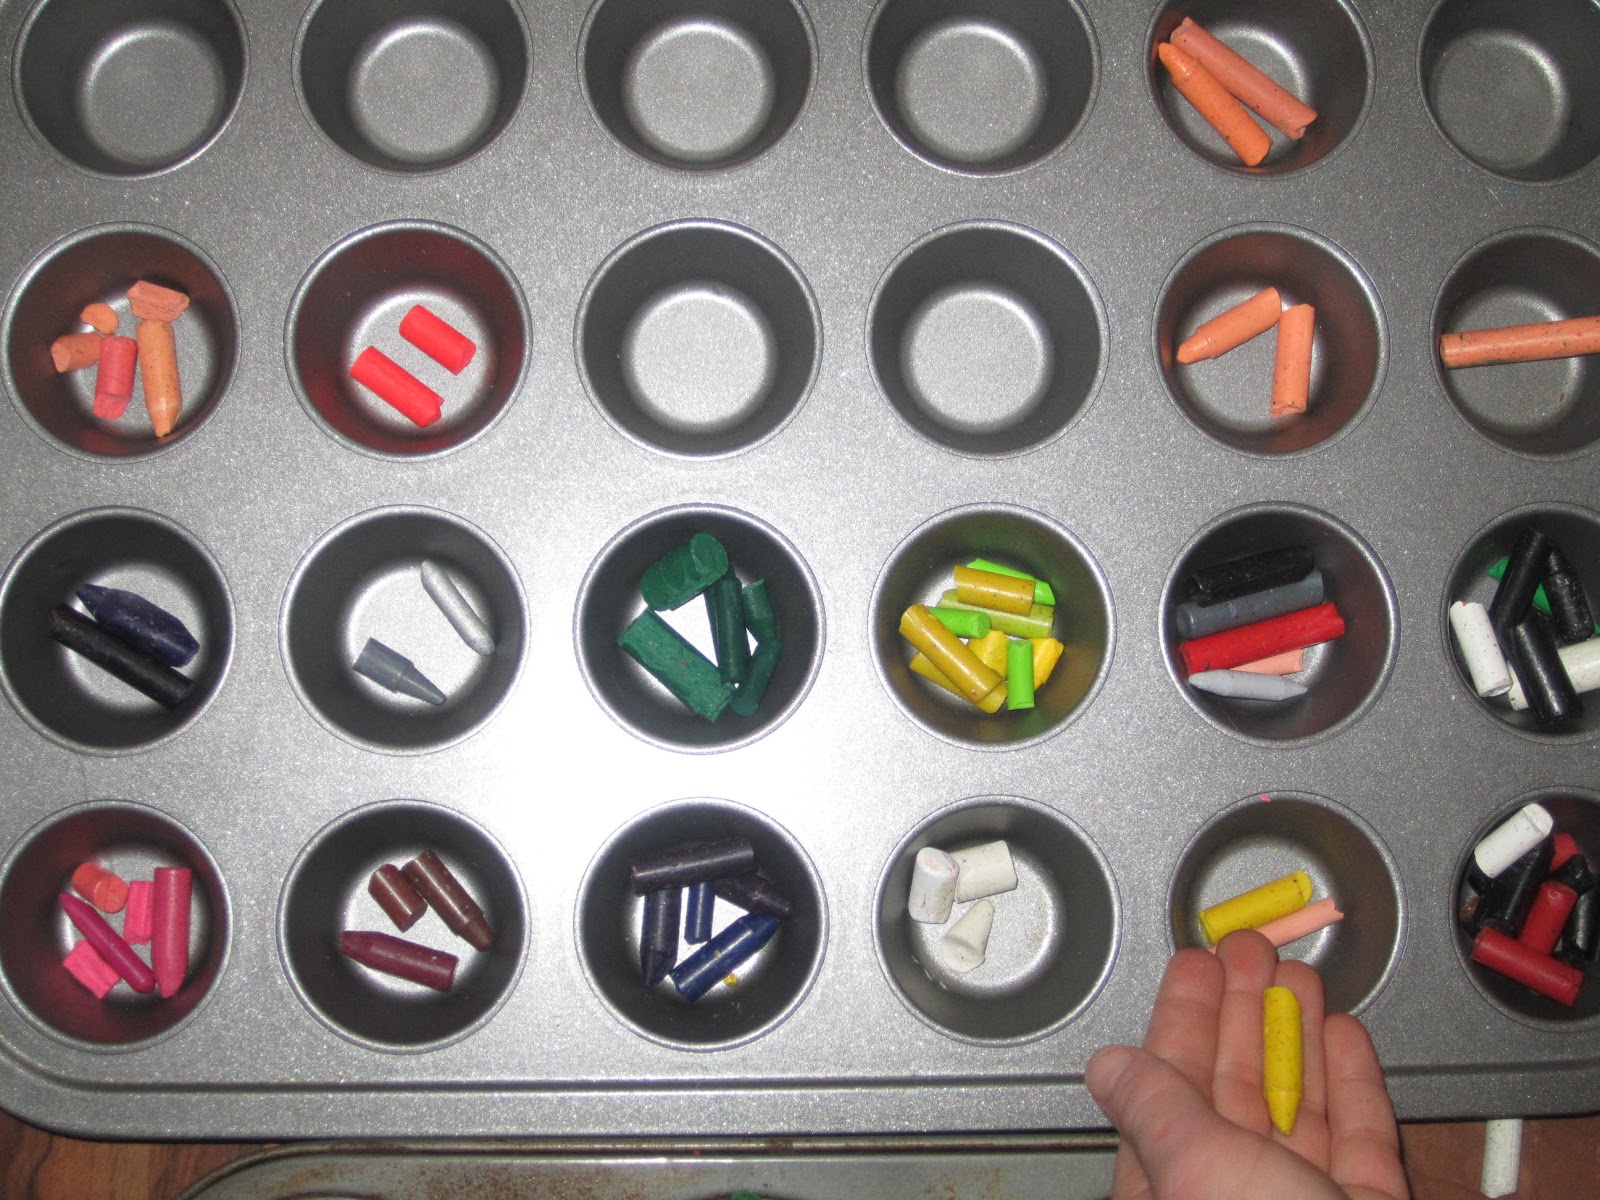

Then we baked them. Bake at 300 degrees for about 10 min. Once they've melted, take them out of the oven and let cool. (They'll be very 'watery' at first - don't be alarmed!) And after the pan is cool to the touch, put in the freezer for about 5-10 min.  After they've settled, they should actually just pop right out of the pan. (I had a sharp knife ready to pry them out, but didn't need it)


Once we popped them out, we had to admire our work before coloring with them. These are cool enough to even put in a jar as a decoration! But my boys are coloring with them instead...

These are great for 'small' hands - I wish I'd have made this when the boys were toddlers!  But they're still enjoying coloring with them. I'm going to try other ways to form them, but this was super easy to do!


Our heritage colors: Swedish, Irish, English/Norwegian/American flag colors

And by the way, the muffin tin cleaned up perfectly - and easily!

Friday, December 23, 2011

Walnut & Cranberry Oatmeal in a Jar

In a one quart jar, add the following in the following order:

2 2/3 C old fashioned oats
1 1/2 teaspoon cinnamon
1/4 teaspoon nutmeg
1/4 teaspoon allspice
1/4 teaspoon salt

Once those ingredients are in the jar, gently shake it to mix it all together. Then add:

1/2 C dried cranberries
1/2 C walnuts
1/3 C packed brown sugar (as top layer)

Label to attach to jar:

Cranberry Walnut Oatmeal


Shake jar to mix together all ingredients.  Add 2 C boiling water to contents of jar. To make 1/2 jar, just make sure to mix entire jar together. Add 1 C boiling water to 1/2 contents of jar (or microwave on high for 2 minutes.)

Yuletide Sand Art Cookies

These posed to be a bit more difficult - the original recipe that I found didn't quite fit in the jar. Once I figured out the measurements and the layers, things worked out better. So I did all the work and here's what I found to work for these 'pretty in the jar' and 'yummy in the tummy' jar cookies:

Dry Ingredients to be Layered in Jar:

1 C flour (bottom layer)
1/3 C green sugar
1/3 C red sugar
1/2 C flour
3/4 C dried raisins
3/4 C white chips

Colored sugar: I just added drops of food coloring to white sugar and used a whisk to mix it thoroughly together.

Use a funnel to pour ingredients in the jar and then 'tap' jar on flat surface to help settle the layers.

Label for the jar:

Ingredients You'll Need:

1/3 C butter
1 egg
1 teaspoon vanilla
1/2 teaspoon almond extract

Beat the butter until smooth. Add egg, vanilla and almond extract and continue beating until well combine. Stir in contents of jar.

Drop by teaspoonful onto cookie sheet and bake at 375 for 8-10 minutes. Enjoy!


Add labels, fabric and an optional bow and there you have it: Yuletide Sand Art Cookies!

Citrus Peppermint Body Scrub

Last year, I did Candy Cane Bath Salts. This year, it's Citrus Peppermint Body Scrub. It's a great body scrub to keep by kitchen sink for those rough hands.

Ingredients:

1 C carrier oil (grapeseed, olive, almond or any combination)
(I acutally used a combination of those three and included vitamin E oil)
1 C sea or epsom salt
1 C sugar*
 *you can just use all sugar or all salt, but the salt is much more abrasive by itself
15-20 drops of lemon essential oil
15-20 drops of orange essential oil
15-20 drops of peppermint essential oil


Combine all the oils in a small bowl. In a seperate bowl, combine the salt and sugar. Add the oil to the salt/sugar mixture and mix everything together. Store in an airtight container (such as a glass jar).


Add labels such as directions for use and ingredients and fabric or a decorative bow and viola! you've got a great (and easy) jar gift!

Tuesday, October 11, 2011

Rice Krispie Apples

These treats are awesome! I made a bunch for my son's class during their apple unit and apparently, they were a hit!


Ingredients:

1 10 oz bag of marshmallows
4 tablespoons butter
1 small box of cherry (or strawberry) Jell-o
red food coloring
6 cups rice krispies cereal
tootsie rolls
green gum drop candies
non-stick spray for your hands
wax paper

Directions:

*  Melt butter and marshmallows in pan - stirring constantly
*  Once melted, add package of Jell-O and food coloring to desired redness
*  Once the Jell-O, marshmallows and butter are mixed well, add cereal (I combined all in a separate plastic bowl)
*  Combine until the cereal is well coated
*  When slightly cooled, spray hands with non-stick cooking spray and mix ingredients well and then begin to form into apple-shaped balls
*  Slightly indent the top for the tootsie roll 'stem'
*  Stick half of a green gumdrop next to the tootsie roll  (cut the gum drops in half)

I went back and formed each apple a little more to make sure they retained their apple shape.

For us, one batch made about 18-20 apples (on the smaller side...but perfect for kids)


Sunday, October 9, 2011

Apple Cookies on a Stick

We made these for our Pre-school Garden of Eden/Forbidden Fruit Sunday School lesson.

What you'll need:

*  1 pkg of sugar cookie dough (or I suppose you could make       homemade cookies, but come on, who's got the time?)
*  flour
*  apple shaped cookie cutter
*  popscicle sticks
*  wax paper
*  1 can of white frosting
*  M & M candies
*  small tube of brown/black gel icing 
*  green food coloring
*  red food coloring

1.  Prepare the cookie dough
2.  Roll out dough on floured surface
3.  Cut out apple shapes from the 1/4 in thick flattened dough
4.  Put the cookie apples on the cookie sheet
5.  Place a popscicle stick on top of the cookie and slightly push down
6.  Use a small piece of dough to cover the portion of the stick that is on the cookie
7.  Bake as directed

After baking, let cookie pops cool on wire racks

While baking & cooling, prepare the frosting:

*  Take about 3/4 the container of frosting and add RED food coloring (as much as you'd like depending on how red you want it)
*  Take the other 1/4 and add GREEN food coloring (again, however much you'd like)

Once cookies have cooled, frost them!

Frost the apple red, the leaf green, and use the brown or black gel icing for the stem. (Pretty much common sense, eh?)

If you would like to add a smiley face and eyes simply put 2 dots of icing for the eyes and then put the M & M candies on that (the frosting will cement the candy) and then use the gel icing to draw a smile.


Eat!

Monday, August 29, 2011

Slime! (or silly putty)

Oh, yeah, another cool thingy made out of Borax.

You need:

- 1 Tbsp of Borax (where do you get Borax, you ask? The laundry aisle)
- water
- clear school glue (or regular school glue)
- food coloring *
- glitter *

* optional, but added fun

Ok, I don't have exact measurements because I couldn't find exact measurements anywhere.

Borax (sodium borate - Na2B4O7)
But you need to dissolve the 1 Tablespoon of Borax into 1 Cup of water and set that aside.

Then pour probably half a regular sized bottle of glue into a bowl. Add water (not a ton) to that glue and stir it together.

Clear glue makes see-through-ish slime and the regular glue makes more of a pastel color.

Add the food coloring and/or glitter in this step, if you choose to do so.

And now for the FUN part!

Pour in the water/Borax mixture and begin stirring it together. It'll get really goopy and stringy (the polymers doing their thing) and then knead it together with your hands. (I suppose you could let the kids help)

The more you knead it, the less gooey it will be. It will eventually turn into a lump of almost rubber-like material. If you prefer it to be 'slimey',  you can add more water. My boys play with it until it dries out a bit and then add it to a bowl of water and it gets all stringy again. (Then I take a slotted spoon and spoon it back into a zip-lock baggie)

Store it in an airtight container or you no longer have 'slime.'

Yes, it will wash out of clothes. BUT, I highly suggest playing with this in a room that doesn't have carpet!